Overview
The TinyFish Web Agent node for n8n lets you add AI-powered web automation to any n8n workflow. Browse any website using an AI-powered remote browser to extract structured data, fill forms, navigate multi-step workflows, or interact with JavaScript-rendered pages.Quick Start
Prerequisites
- n8n instance (self-hosted or cloud)
- TinyFish Web Agent API key (get one here)
- Google account (for the Google Sheets part of the tutorial)
Setting Up the TinyFish Node
Install the community node
In n8n, go to Settings > Community Nodes. Search for
n8n-nodes-tinyfish and click Install.Add TinyFish Web Agent to your workflow
In any workflow, click the + button to open the node panel. Search for TinyFish Web Agent and click it to add it to your canvas.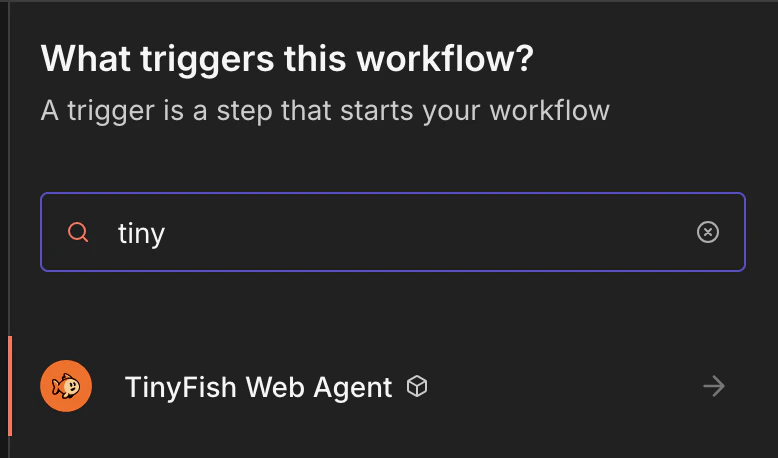
Create your TinyFish credentials
Click Credentials > New Credential and select TinyFish Web Agent API. Paste your API key and click Save.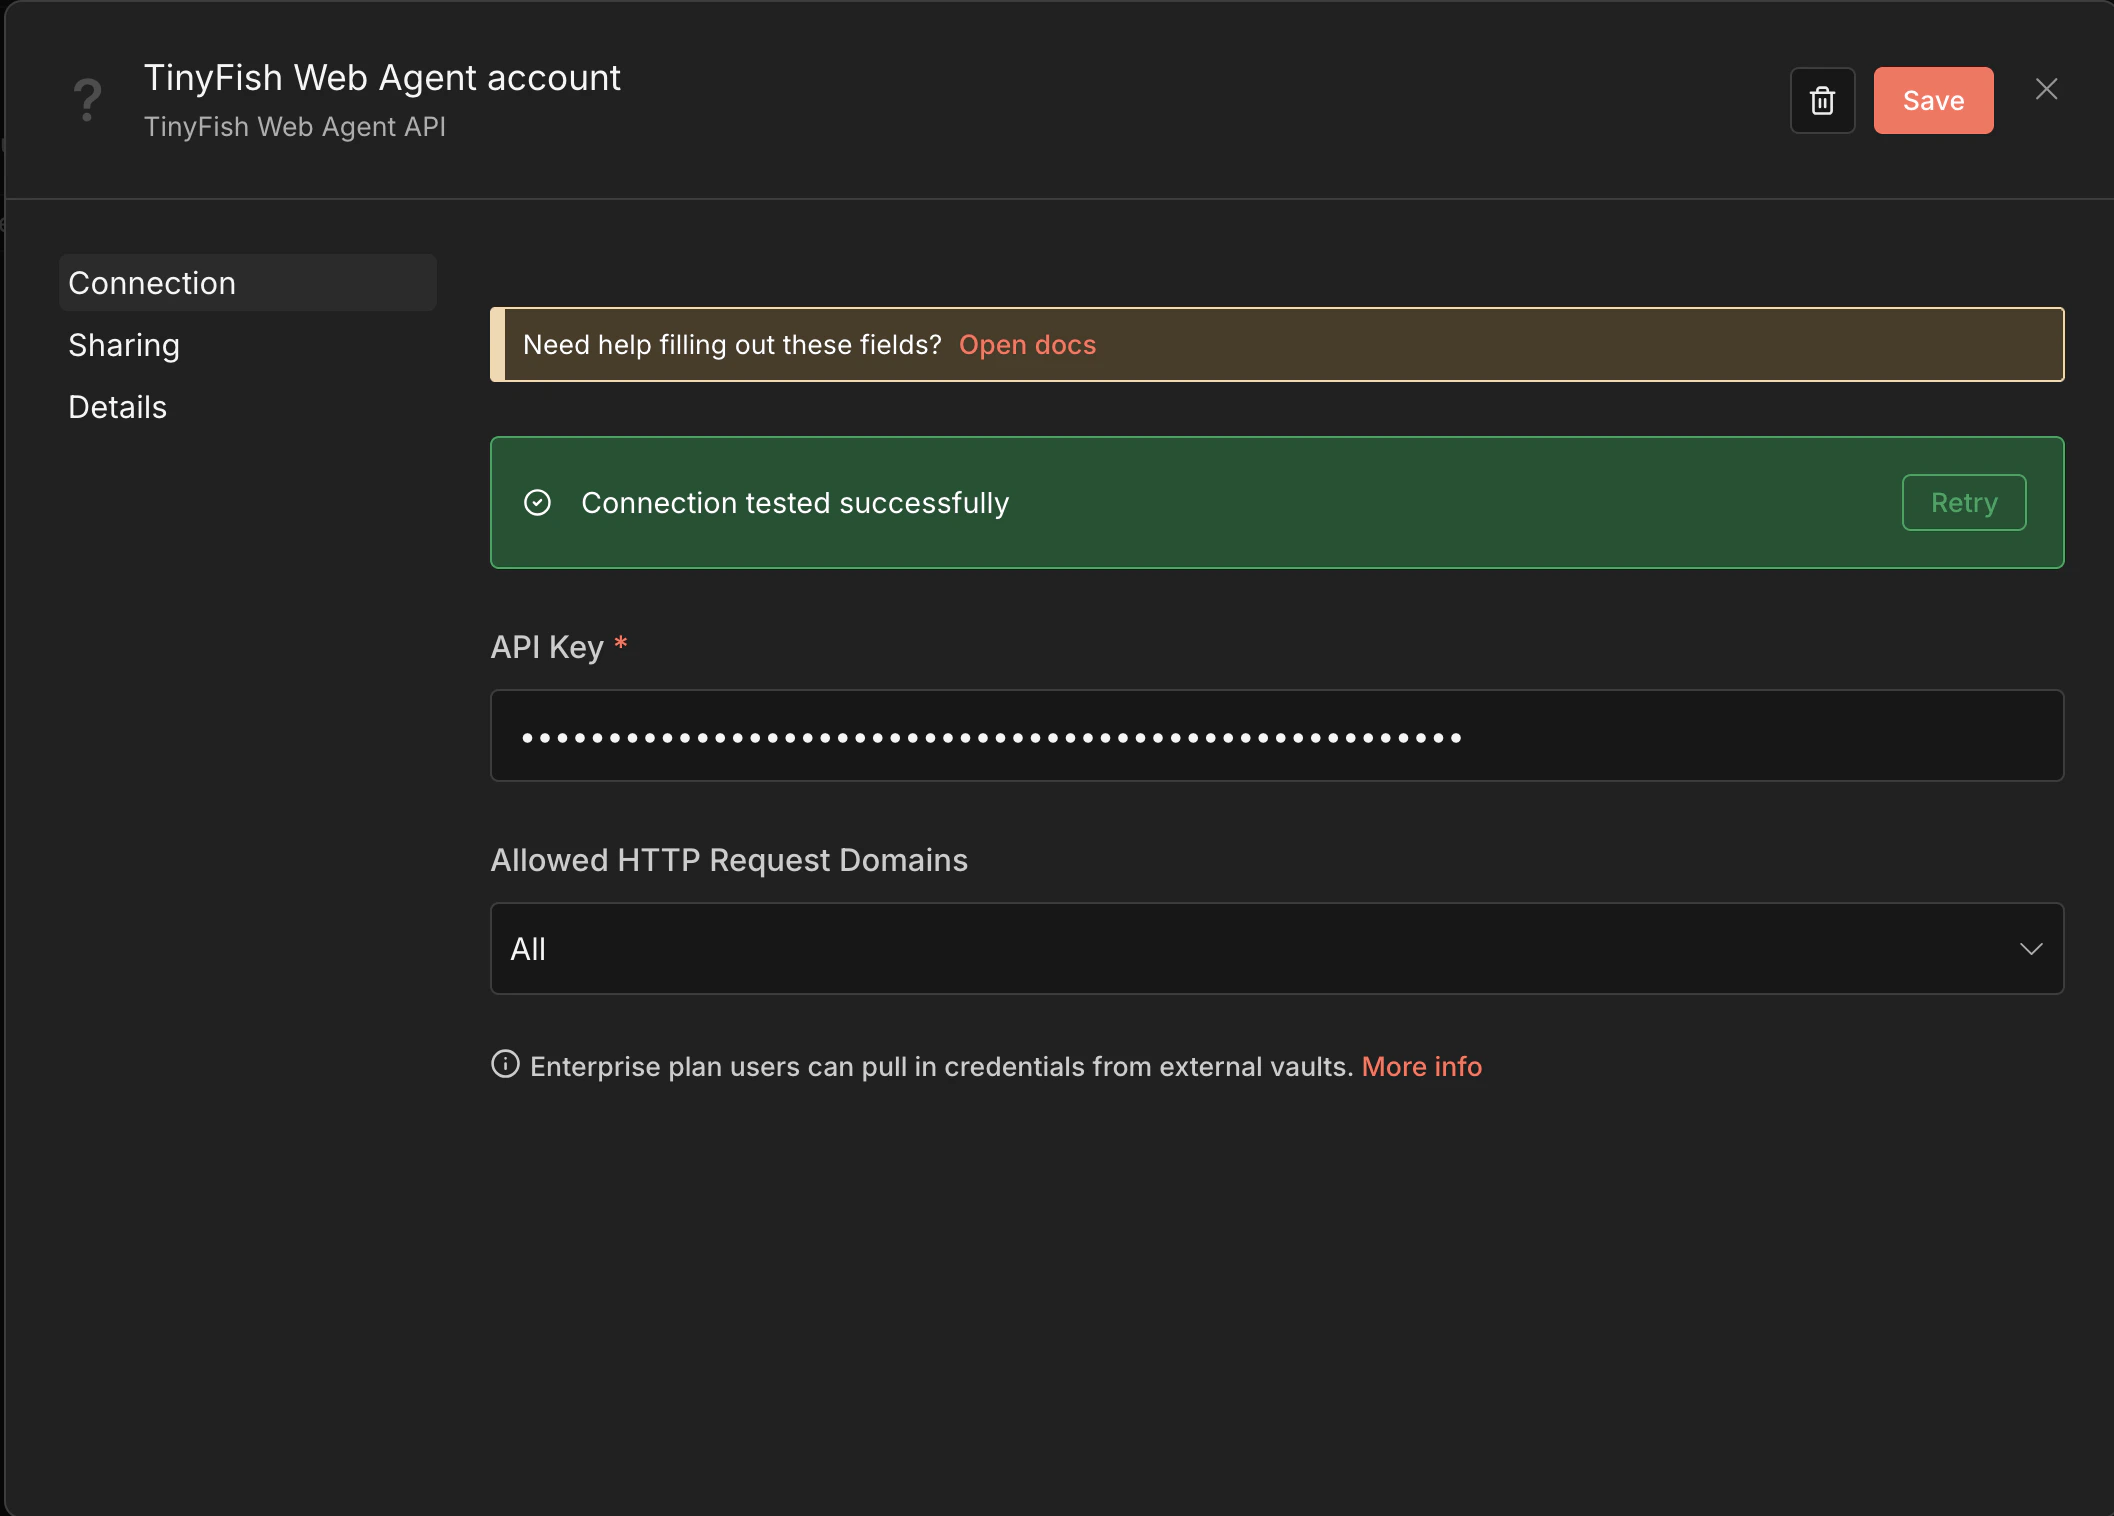
Your First Workflow with TinyFish
In this tutorial, we’ll build a workflow that scrapes the top stories from Hacker News (news.ycombinator.com) and writes them to a Google Sheet — no code required. The final workflow looks like this: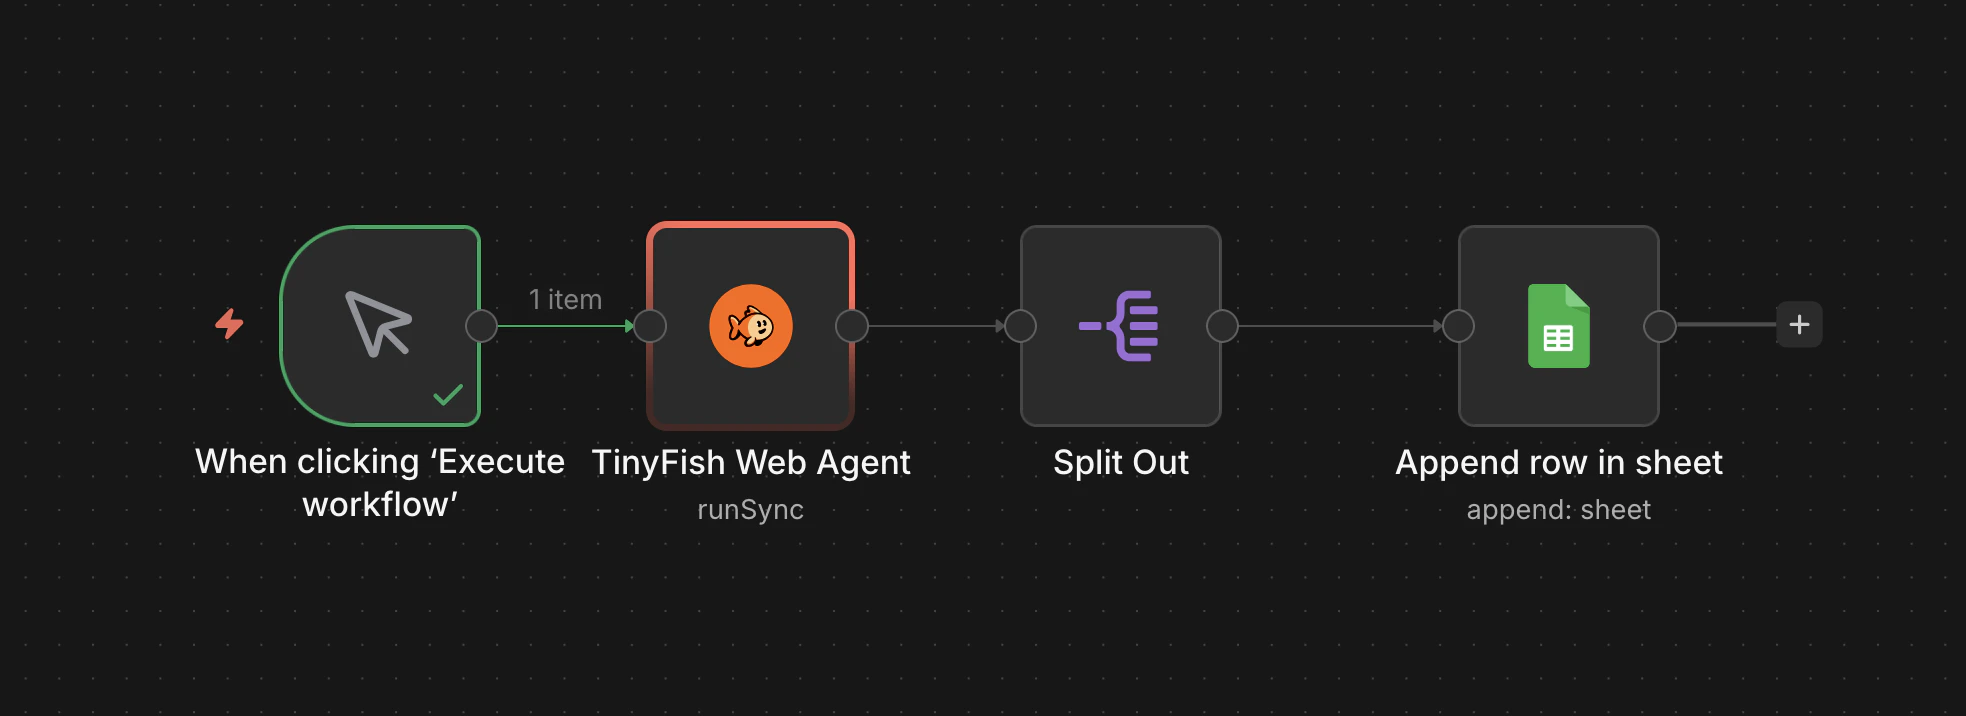
Scraping Hacker News to Google Sheets
Step 1: Add a Manual Trigger
- Create a new workflow in n8n.
- Add a Manual Trigger node (“When clicking ‘Execute workflow’”).
Step 2: Configure TinyFish Web Agent
- Add a TinyFish Web Agent node after the trigger.
- Select your TinyFish credentials.
- Set Operation to Run (Sync).
- Set URL to
https://news.ycombinator.com. - Set Goal to:

Step 3: Split the Results
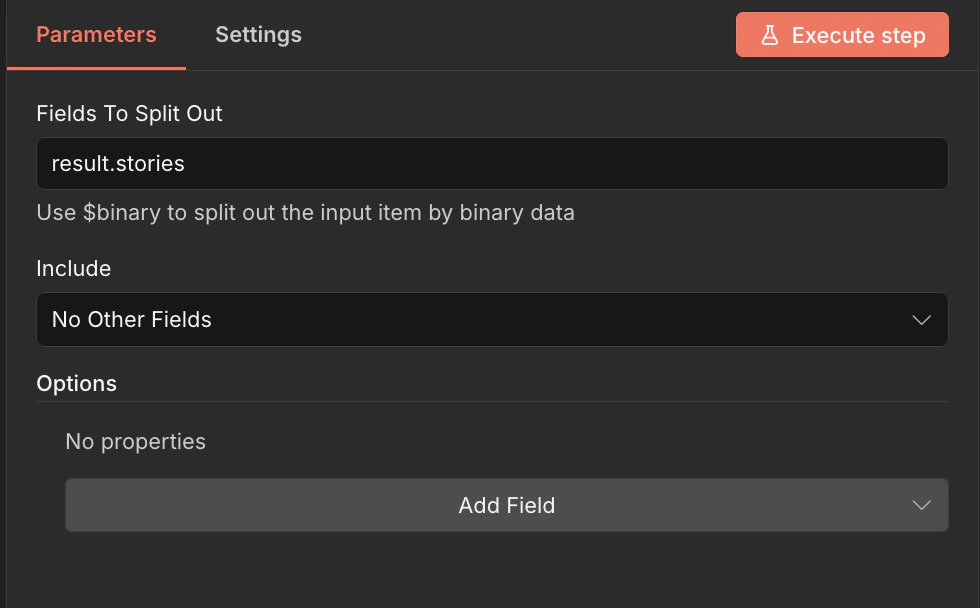
TinyFish returns a single JSON object containing thestories array. To write each story as a separate row in Google Sheets, we need to split it into individual items.
- Add a Split Out node after TinyFish Web Agent.
- Set Fields To Split Out to
result.stories. - Set Include to No Other Fields.
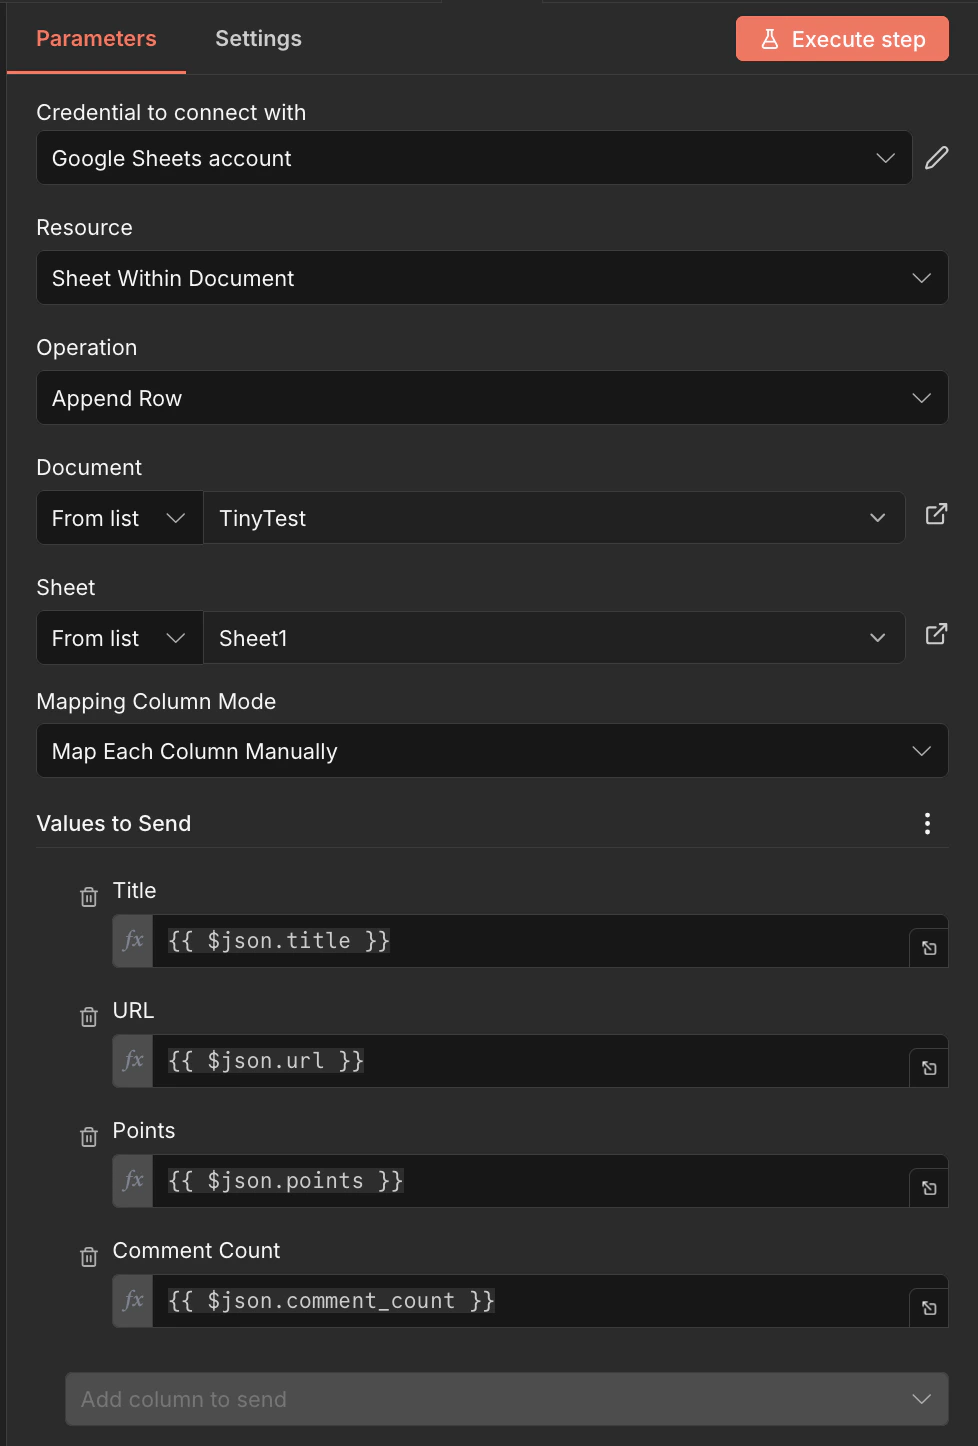
Step 4: Write to Google Sheets
- Add a Google Sheets node after Split Out.
- Connect your Google Sheets account credentials.
- Set Resource to Sheet Within Document.
- Set Operation to Append Row.
- Select your target Document and Sheet.
- Set Mapping Column Mode to Map Each Column Manually.
- Map the columns:
| Sheet Column | Value |
|---|---|
| Title | {{ $json.title }} |
| URL | {{ $json.url }} |
| Points | {{ $json.points }} |
| Comment Count | {{ $json.comment_count }} |
Step 5: Run It
- Click Execute Workflow to test.
- Check your Google Sheet — you should see 10 rows of Hacker News stories with titles, URLs, points, and comment counts.
The first run may take 30–60 seconds as TinyFish navigates and extracts from the live page. Subsequent workflow executions will be similarly timed since each run performs a fresh browser session.
Next Steps
- Swap the Manual Trigger for a Schedule Trigger to run on a recurring schedule
- Add a Filter node to only capture stories above a certain point threshold
- Use Run (SSE Streaming) instead of Run (Sync) for longer-running extractions
- Try scraping other sites — TinyFish works on any website, including bot-protected pages